
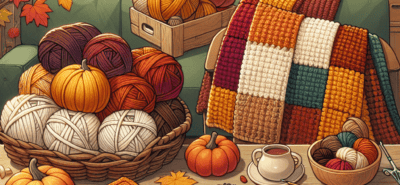
Crochet Borders and Edging Ideas for Blankets
“Add the perfect finishing touch to your blankets with our creative crochet borders and edging ideas.”
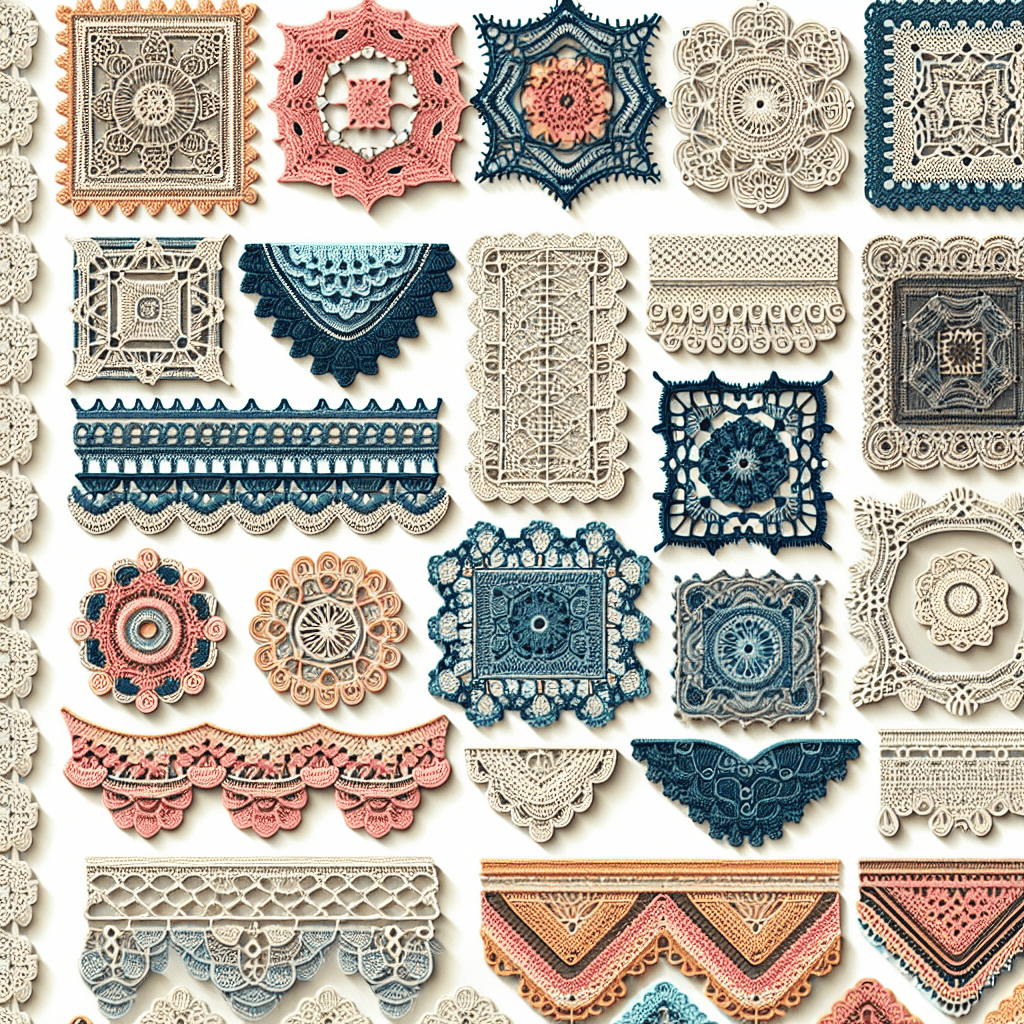
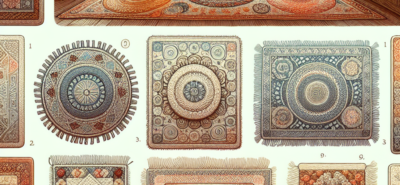
5 Simple and Elegant Crochet Border Patterns for Blankets
Crochet borders and edging can add the perfect finishing touch to any blanket. Not only do they add a decorative element, but they also help to give the blanket a more polished and professional look. With so many different border patterns to choose from, it can be overwhelming to decide which one to use. In this article, we will explore five simple and elegant crochet border patterns that are perfect for blankets.
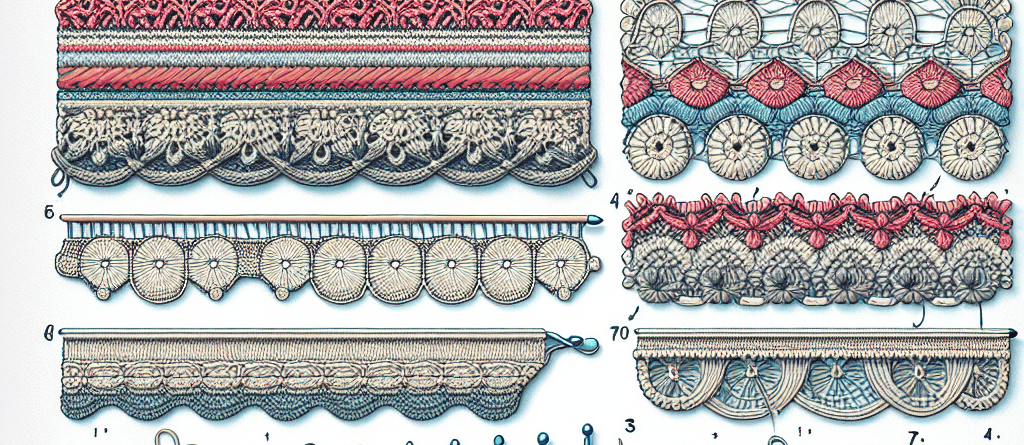
1. Scalloped Border
The scalloped border is a classic and timeless choice for any blanket. It is created by working a series of double crochet stitches into the edge of the blanket, followed by a series of chain stitches and single crochet stitches. This creates a beautiful scalloped edge that adds a touch of elegance to the blanket.
To create a scalloped border, start by working a row of double crochet stitches evenly along the edge of the blanket. Then, work a row of chain stitches, followed by a row of single crochet stitches into the chain stitches. Repeat this pattern until you have reached the desired width for your border. This border can be worked in a single color or in multiple colors for a more vibrant look.
2. Picot Border
The picot border is another classic choice for blankets. It is created by working a series of chain stitches and slip stitches into the edge of the blanket. This creates a delicate and dainty border that is perfect for baby blankets or lightweight throws.
To create a picot border, start by working a row of chain stitches evenly along the edge of the blanket. Then, work a slip stitch into the third chain from the hook. Next, work three chain stitches and slip stitch into the same stitch. Repeat this pattern until you have reached the desired width for your border. This border can also be worked in a single color or in multiple colors for a more playful look.
3. Shell Border
The shell border is a popular choice for blankets as it adds a touch of texture and dimension. It is created by working a series of shell stitches into the edge of the blanket. This creates a beautiful scalloped edge that is perfect for adding a feminine touch to any blanket.
To create a shell border, start by working a row of single crochet stitches evenly along the edge of the blanket. Then, work a series of shell stitches, which consist of multiple double crochet stitches worked into the same stitch. Repeat this pattern until you have reached the desired width for your border. This border can be worked in a single color or in multiple colors for a more colorful look.
4. Bobble Border
The bobble border is a fun and playful choice for blankets. It is created by working a series of bobble stitches into the edge of the blanket. This creates a bumpy and textured border that is perfect for adding a touch of whimsy to any blanket.
To create a bobble border, start by working a row of single crochet stitches evenly along the edge of the blanket. Then, work a series of bobble stitches, which consist of multiple double crochet stitches worked into the same stitch. Repeat this pattern until you have reached the desired width for your border. This border can be worked in a single color or in multiple colors for a more vibrant look.
5. Braided Border
The braided border is a unique and eye-catching choice for blankets. It is created by working a series of chain stitches and slip stitches into the edge of the blanket, which are then braided together to create a beautiful border.
To create a braided border, start by working a row of chain stitches evenly along the edge of the blanket. Then, work a slip stitch into the third chain from the hook. Next, work three chain stitches and slip stitch into the same stitch. Repeat this pattern until you have reached the desired width for your border. Then, braid the three strands together and secure with a slip stitch. This border can be worked in a single color or in multiple colors for a more unique look.
In conclusion, crochet borders and edging can add the perfect finishing touch to any blanket. Whether you prefer a classic and timeless look or a more playful and whimsical style, there is a border pattern for every preference. So, the next time you finish a blanket, consider adding one of these simple and elegant crochet border patterns to give it that extra special touch.
10 Creative Ways to Add Edging to Your Crochet Blanket
Crochet blankets are a popular and timeless way to add warmth and comfort to any room. They come in all shapes, sizes, and colors, making them a versatile and practical addition to any home. However, sometimes a plain crochet blanket can feel a bit incomplete. That’s where crochet borders and edging come in. These decorative elements can add a touch of personality and style to your blanket, making it stand out and become a true statement piece. In this article, we will explore 10 creative ways to add edging to your crochet blanket.
1. Simple Single Crochet Edging
The simplest and most classic way to add edging to your crochet blanket is by using a single crochet stitch. This stitch creates a neat and clean border that is perfect for a more traditional look. To create this edging, simply work a single crochet stitch around the entire perimeter of your blanket, making sure to work three stitches in each corner to keep the edges flat.
2. Shell Stitch Edging
For a more decorative and feminine touch, consider using a shell stitch edging. This stitch creates a scalloped border that adds a delicate and elegant touch to your blanket. To create this edging, work a series of double crochet stitches, followed by a single crochet stitch, and then a series of three double crochet stitches all in the same stitch. Repeat this pattern around the entire perimeter of your blanket.
3. Picot Edging
If you want to add a bit of texture and dimension to your blanket, consider using a picot edging. This stitch creates a series of small loops that add a playful and whimsical touch to your blanket. To create this edging, work a single crochet stitch, followed by a chain stitch, and then slip stitch back into the first stitch. Repeat this pattern around the entire perimeter of your blanket.
4. Bobble Stitch Edging
For a more unique and eye-catching edging, try using a bobble stitch. This stitch creates a series of small bobbles that add a fun and playful touch to your blanket. To create this edging, work a series of double crochet stitches, followed by a chain stitch, and then slip stitch back into the first stitch. Repeat this pattern around the entire perimeter of your blanket.
5. Ruffle Edging
For a more dramatic and feminine touch, consider using a ruffle edging. This stitch creates a series of ruffles that add a soft and romantic touch to your blanket. To create this edging, work a series of double crochet stitches, followed by a chain stitch, and then slip stitch back into the first stitch. Repeat this pattern around the entire perimeter of your blanket, increasing the number of stitches in each stitch to create the ruffles.
6. Bobble Shell Edging
For a more intricate and detailed edging, try combining the bobble stitch and shell stitch to create a bobble shell edging. This stitch creates a series of bobbles and shells that add a unique and eye-catching touch to your blanket. To create this edging, work a series of double crochet stitches, followed by a single crochet stitch, and then a series of three double crochet stitches all in the same stitch. Repeat this pattern around the entire perimeter of your blanket.
7. Puff Stitch Edging
For a soft and cozy touch, consider using a puff stitch edging. This stitch creates a series of puffs that add a plush and inviting touch to your blanket. To create this edging, work a series of puff stitches, followed by a single crochet stitch, and then a series of three puff stitches all in the same stitch. Repeat this pattern around the entire perimeter of your blanket.
8. Lacy Edging
For a delicate and airy touch, try using a lacy edging. This stitch creates a series of open spaces that add a light and airy feel to your blanket. To create this edging, work a series of chain stitches, followed by a single crochet stitch, and then a series of chain stitches all in the same stitch. Repeat this pattern around the entire perimeter of your blanket.
9. Fringe Edging
For a bohemian and playful touch, consider using a fringe edging. This stitch creates a series of long strands that add movement and texture to your blanket. To create this edging, cut several strands of yarn to your desired length and attach them to the edges of your blanket using a crochet hook.
10. Tassel Edging
For a more sophisticated and elegant touch, try using a tassel edging. This stitch creates a series of tassels that add a touch of luxury to your blanket. To create this edging, cut several strands of yarn to your desired length and attach them to the edges of your blanket using a crochet hook.
In conclusion, crochet borders and edging can add a unique and personal touch to your crochet blanket. Whether you prefer a simple and classic look or a more intricate and detailed design, there is a crochet edging that will suit your style. So next time you finish a crochet blanket, consider adding one of these creative edging ideas to make it truly stand out.
The Ultimate Guide to Choosing the Perfect Border for Your Crochet Blanket
Crochet blankets are a popular and timeless choice for keeping warm and adding a touch of coziness to any room. They come in all shapes, sizes, and colors, making them a versatile and customizable addition to any home. However, what truly sets a crochet blanket apart from the rest is the border or edging that is added to it. A well-chosen border can elevate a simple blanket into a work of art, adding texture, dimension, and personality. In this ultimate guide, we will explore different crochet border and edging ideas for blankets, helping you choose the perfect one for your next project.
First and foremost, it is important to understand the purpose of a border or edging on a crochet blanket. Aside from adding aesthetic value, borders also serve a functional purpose. They help to stabilize the edges of the blanket, preventing them from curling or unraveling. Additionally, borders can also add weight to the blanket, making it feel more substantial and cozy.
When choosing a border for your crochet blanket, there are a few factors to consider. The first is the overall style and theme of the blanket. Is it a simple and classic design, or does it have a more intricate and detailed pattern? This will help determine the type of border that will complement the blanket best. For example, a simple single crochet border would work well with a classic granny square blanket, while a more complex shell stitch border would be better suited for a detailed and lacy design.
Another factor to consider is the color scheme of the blanket. A border can either blend in with the colors of the blanket or provide a contrasting pop of color. For a more subtle look, choose a border that matches the main color of the blanket. On the other hand, if you want to make a statement, opt for a border in a contrasting color that will make the blanket stand out.
One of the most popular and versatile border options for crochet blankets is the shell stitch. This border consists of a series of shells, which are made up of multiple stitches worked into the same stitch or space. The result is a beautiful and delicate scalloped edge that adds a touch of elegance to any blanket. The shell stitch border works well with both simple and intricate designs and can be customized by varying the number of stitches in each shell.
For a more textured and chunky border, the bobble stitch is an excellent choice. This border is created by working multiple stitches into the same stitch, then pulling them all through at once to create a raised bobble effect. The bobble stitch border is perfect for adding a cozy and rustic touch to a blanket, and it works well with thicker yarns.
If you want to add a touch of whimsy and playfulness to your crochet blanket, consider a pom-pom border. This border is created by attaching small pom-poms to the edge of the blanket, either by sewing them on or by using a crochet hook to pull them through the stitches. Pom-pom borders are a fun and unique way to add texture and color to a blanket, and they work well with both simple and complex designs.
In conclusion, the border or edging of a crochet blanket is just as important as the main body of the blanket itself. It not only adds aesthetic value but also serves a functional purpose. When choosing a border, consider the style and theme of the blanket, the color scheme, and the desired level of texture and dimension. With these factors in mind, you can choose the perfect border for your crochet blanket, making it a truly one-of-a-kind piece.
Q&A
Q: What are some popular crochet border designs for blankets?
A: Some popular crochet border designs for blankets include scalloped edges, picot edges, and shell stitch borders.
Q: Are there any unique crochet border ideas for blankets?
A: Yes, there are many unique crochet border ideas for blankets such as braided borders, ruffle edges, and bobble stitch borders.
Q: Can crochet borders be added to both knit and crochet blankets?
A: Yes, crochet borders can be added to both knit and crochet blankets. They can also be added to other types of fabric, such as fleece or flannel, to create a decorative edge.


LEAVE A COMMENT