
How to Crochet a Trendy Bucket Hat
“Stay stylish and sun-safe with our easy guide to crocheting the perfect bucket hat!”
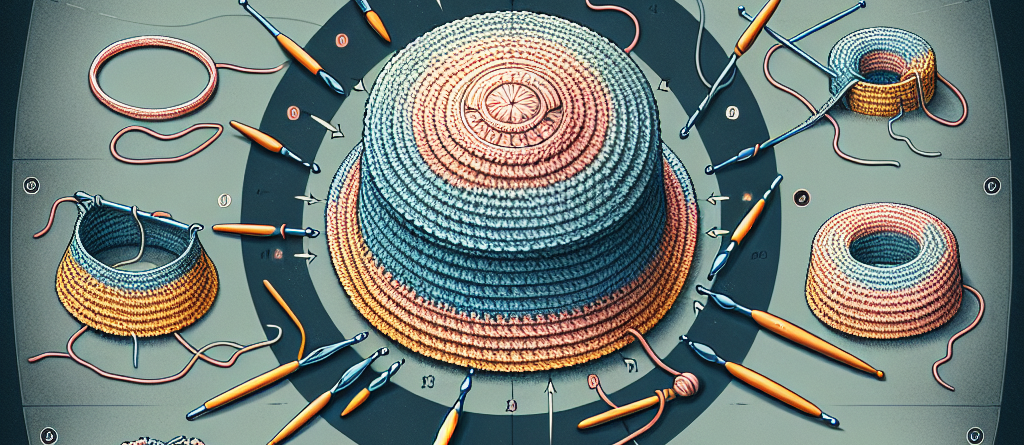
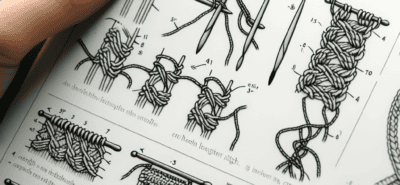
5 Essential Stitches for Crocheting a Stylish Bucket Hat
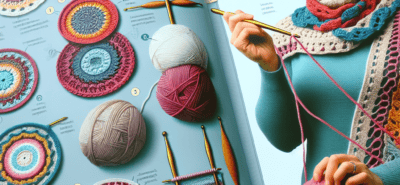
Crocheting has been a popular hobby for centuries, and it’s no surprise that it has made a comeback in recent years. One of the trendiest items to crochet right now is the bucket hat. This stylish and versatile accessory can be worn year-round and adds a touch of personality to any outfit. If you’re looking to crochet your own bucket hat, there are a few essential stitches that you’ll need to know. In this article, we’ll go over the 5 essential stitches for crocheting a trendy bucket hat.
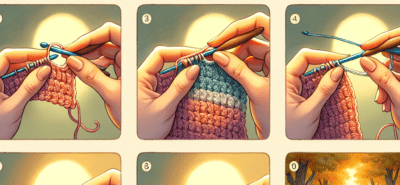
1. Single Crochet Stitch
The single crochet stitch is the most basic and commonly used stitch in crocheting. It creates a tight and sturdy fabric, making it perfect for the brim of a bucket hat. To start, make a slip knot and insert your hook into the second chain from the hook. Yarn over and pull through the loop, then yarn over again and pull through both loops on the hook. Repeat this process until you reach the end of the row. For subsequent rows, chain one and turn your work, then insert your hook into the first stitch and continue with the single crochet stitch. This stitch will create a solid and even brim for your bucket hat.
2. Half Double Crochet Stitch
The half double crochet stitch is another essential stitch for crocheting a bucket hat. It is slightly taller than the single crochet stitch, making it perfect for creating the body of the hat. To start, yarn over and insert your hook into the third chain from the hook. Yarn over again and pull through the loop, then yarn over and pull through all three loops on the hook. Continue this process until you reach the end of the row. For subsequent rows, chain two and turn your work, then insert your hook into the first stitch and continue with the half double crochet stitch. This stitch will create a slightly looser and more textured fabric for the body of your bucket hat.
3. Double Crochet Stitch
The double crochet stitch is taller than the half double crochet stitch and creates a more open and airy fabric. This stitch is perfect for creating a lightweight and breathable bucket hat for the warmer months. To start, yarn over and insert your hook into the fourth chain from the hook. Yarn over again and pull through the loop, then yarn over and pull through two loops on the hook. Yarn over again and pull through the remaining two loops on the hook. Continue this process until you reach the end of the row. For subsequent rows, chain three and turn your work, then insert your hook into the first stitch and continue with the double crochet stitch.
4. Front Post Double Crochet Stitch
The front post double crochet stitch is a variation of the double crochet stitch and is used to create texture and dimension in your crochet work. To start, yarn over and insert your hook around the post of the stitch from the previous row, then yarn over and pull through the loop. Yarn over again and pull through two loops on the hook, then yarn over and pull through the remaining two loops on the hook. This stitch will create a raised ridge on the front of your work, adding a unique touch to your bucket hat.
5. Slip Stitch
The slip stitch is used to join rounds or create a seamless finish in your crochet work. To start, insert your hook into the designated stitch, yarn over and pull through both the stitch and the loop on your hook. This stitch is commonly used to join the brim and body of a bucket hat, as well as to create a clean edge on the top of the hat.
In conclusion, these 5 essential stitches are all you need to crochet a trendy and stylish bucket hat. With a little practice, you’ll be able to create a variety of bucket hats in different colors and textures. So grab your crochet hook and yarn, and get ready to rock your very own handmade bucket hat. Happy crocheting!
Choosing the Perfect Yarn for Your Crochet Bucket Hat: A Guide
Crochet bucket hats have become a popular fashion trend in recent years. Not only are they stylish and versatile, but they are also a fun and easy project for crocheters of all levels. One of the most important aspects of crocheting a bucket hat is choosing the right yarn. The type of yarn you use can greatly affect the look and feel of your hat. In this guide, we will discuss the different types of yarn and how to choose the perfect one for your crochet bucket hat.
First and foremost, it is important to consider the weight of the yarn. The weight of the yarn refers to its thickness and is typically categorized as lace, fingering, sport, DK, worsted, bulky, or super bulky. For a crochet bucket hat, you will want to choose a yarn that is lightweight and breathable, as the hat will be worn on the head. A yarn that is too heavy may cause the hat to be uncomfortable and too warm to wear. Fingering, sport, or DK weight yarns are ideal for a crochet bucket hat.
Next, you will want to consider the fiber content of the yarn. The most common types of yarn fibers are wool, cotton, acrylic, and blends. Each type of fiber has its own unique characteristics and will affect the look and feel of your hat. Wool yarns are warm and have a natural elasticity, making them great for hats that need to stretch. Cotton yarns are lightweight and breathable, making them perfect for warmer weather. Acrylic yarns are affordable and easy to care for, making them a popular choice for beginners. Blends of different fibers can also offer the best of both worlds, such as a wool and acrylic blend for warmth and easy care.
Another important factor to consider is the texture of the yarn. The texture of the yarn can add dimension and interest to your crochet bucket hat. Smooth yarns, such as cotton or acrylic, will give your hat a clean and polished look. On the other hand, textured yarns, such as boucle or chenille, can add a unique and cozy touch to your hat. It is important to keep in mind that textured yarns can be more difficult to work with, so they may not be the best choice for beginners.
Color is also an important aspect to consider when choosing yarn for your crochet bucket hat. The color of the yarn can greatly affect the overall look of your hat. Solid colors can give a classic and timeless look, while variegated or self-striping yarns can add a fun and playful touch. It is important to keep in mind that the color of the yarn may look different when crocheted, so it is always a good idea to swatch before starting your project.
Lastly, it is important to consider the budget for your yarn. Yarn can range in price from a few dollars to hundreds of dollars per skein. It is important to choose a yarn that fits within your budget, but also meets your desired quality and characteristics. It is always a good idea to read reviews and ask for recommendations from fellow crocheters before making a purchase.
In conclusion, choosing the perfect yarn for your crochet bucket hat is crucial in creating a hat that is not only stylish but also comfortable to wear. Consider the weight, fiber content, texture, color, and budget when making your decision. With the right yarn, you can create a trendy and unique bucket hat that will be sure to turn heads. Happy crocheting!
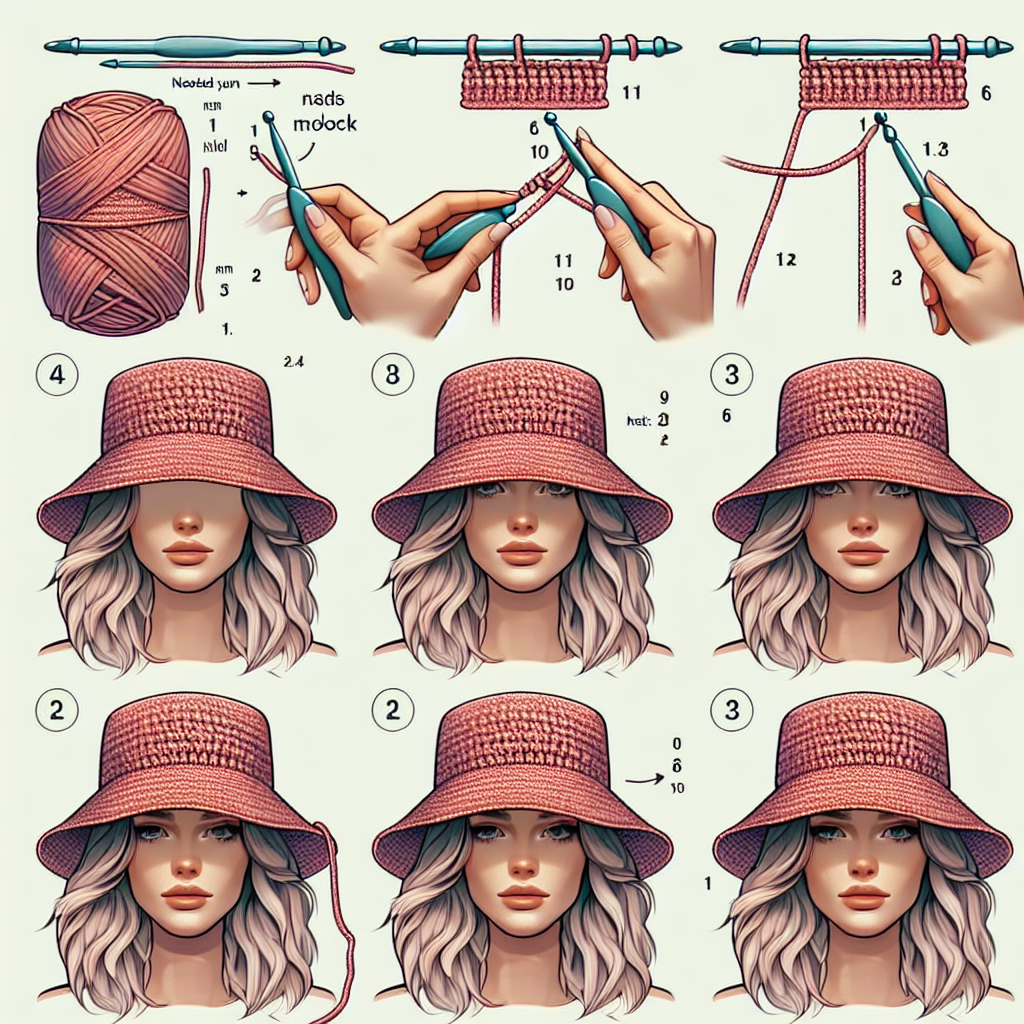
Step-by-Step Tutorial: How to Add a Chic Brim to Your Crochet Bucket Hat
Crochet bucket hats have become a popular fashion trend in recent years. Not only are they stylish and versatile, but they also provide protection from the sun and can be worn in any season. However, if you want to take your crochet bucket hat to the next level, adding a chic brim is the way to go. In this step-by-step tutorial, we will guide you through the process of adding a brim to your crochet bucket hat, giving it a trendy and fashionable look.
Step 1: Choose Your Yarn and Hook Size
The first step in any crochet project is choosing the right yarn and hook size. For a brimmed bucket hat, you will need a medium weight yarn and a hook size that is appropriate for the yarn. Keep in mind that the size of your hook will determine the size of your stitches, so choose accordingly.
Step 2: Crochet the Crown of the Hat
To begin, you will need to crochet the crown of your bucket hat. This can be done using any basic crochet stitch, such as single crochet or half double crochet. The number of stitches you will need will depend on the size of your head and the desired size of your hat. Once you have completed the crown, you can move on to adding the brim.
Step 3: Start the Brim
To start the brim, you will need to create a chain that is the same length as the circumference of your hat’s crown. This will serve as the foundation for your brim. Once you have your chain, you will need to join it to the last stitch of your crown using a slip stitch.
Step 4: Work in Rounds
Now that you have your foundation chain, you will need to work in rounds to create the brim. This can be done using any stitch you prefer, but for a more structured brim, we recommend using single crochet. Work your stitches evenly around the chain, making sure to keep the tension consistent.
Step 5: Increase Stitches
As you work your way around the brim, you will need to increase the number of stitches to create a flared effect. This can be done by adding an extra stitch in every few stitches. The number of increases you make will depend on the desired width of your brim.
Step 6: Create the Brim Shape
Once you have reached the desired width of your brim, you will need to shape it to give it a more structured look. This can be done by working a few rounds of single crochet without any increases. You can also add some texture to your brim by working in different stitches, such as front post or back post stitches.
Step 7: Finish Off
To finish off your brim, you will need to fasten off your yarn and weave in any loose ends. You can also add a decorative edge to your brim by working a row of slip stitches or picot stitches.
Congratulations, you have now successfully added a chic brim to your crochet bucket hat! You can customize your hat by adding embellishments such as buttons, flowers, or ribbons. You can also experiment with different yarn colors and textures to create a unique and trendy look.
In conclusion, adding a brim to your crochet bucket hat is a simple and fun way to elevate its style and make it stand out. With these easy-to-follow steps, you can create a fashionable and functional hat that will be the envy of all your friends. So grab your yarn and hook, and get ready to crochet your way to a trendy bucket hat with a chic brim.
Q&A
1. What materials do I need to crochet a trendy bucket hat?
To crochet a trendy bucket hat, you will need yarn in your desired color, a crochet hook, scissors, and a tapestry needle. You may also want to have a measuring tape and stitch markers on hand.
2. What are some popular stitches to use when crocheting a bucket hat?
Some popular stitches to use when crocheting a bucket hat include single crochet, double crochet, and half double crochet. You can also incorporate more advanced stitches like the shell stitch or the popcorn stitch for added texture and design.
3. Are there any tips for achieving the perfect fit when crocheting a bucket hat?
To achieve the perfect fit when crocheting a bucket hat, it is important to measure your head circumference and use that as a guide for the size of your hat. You can also try on the hat as you go to ensure it is the right size. Additionally, using a stretchy yarn or adding an elastic band to the brim can help with achieving a snug fit.


LEAVE A COMMENT